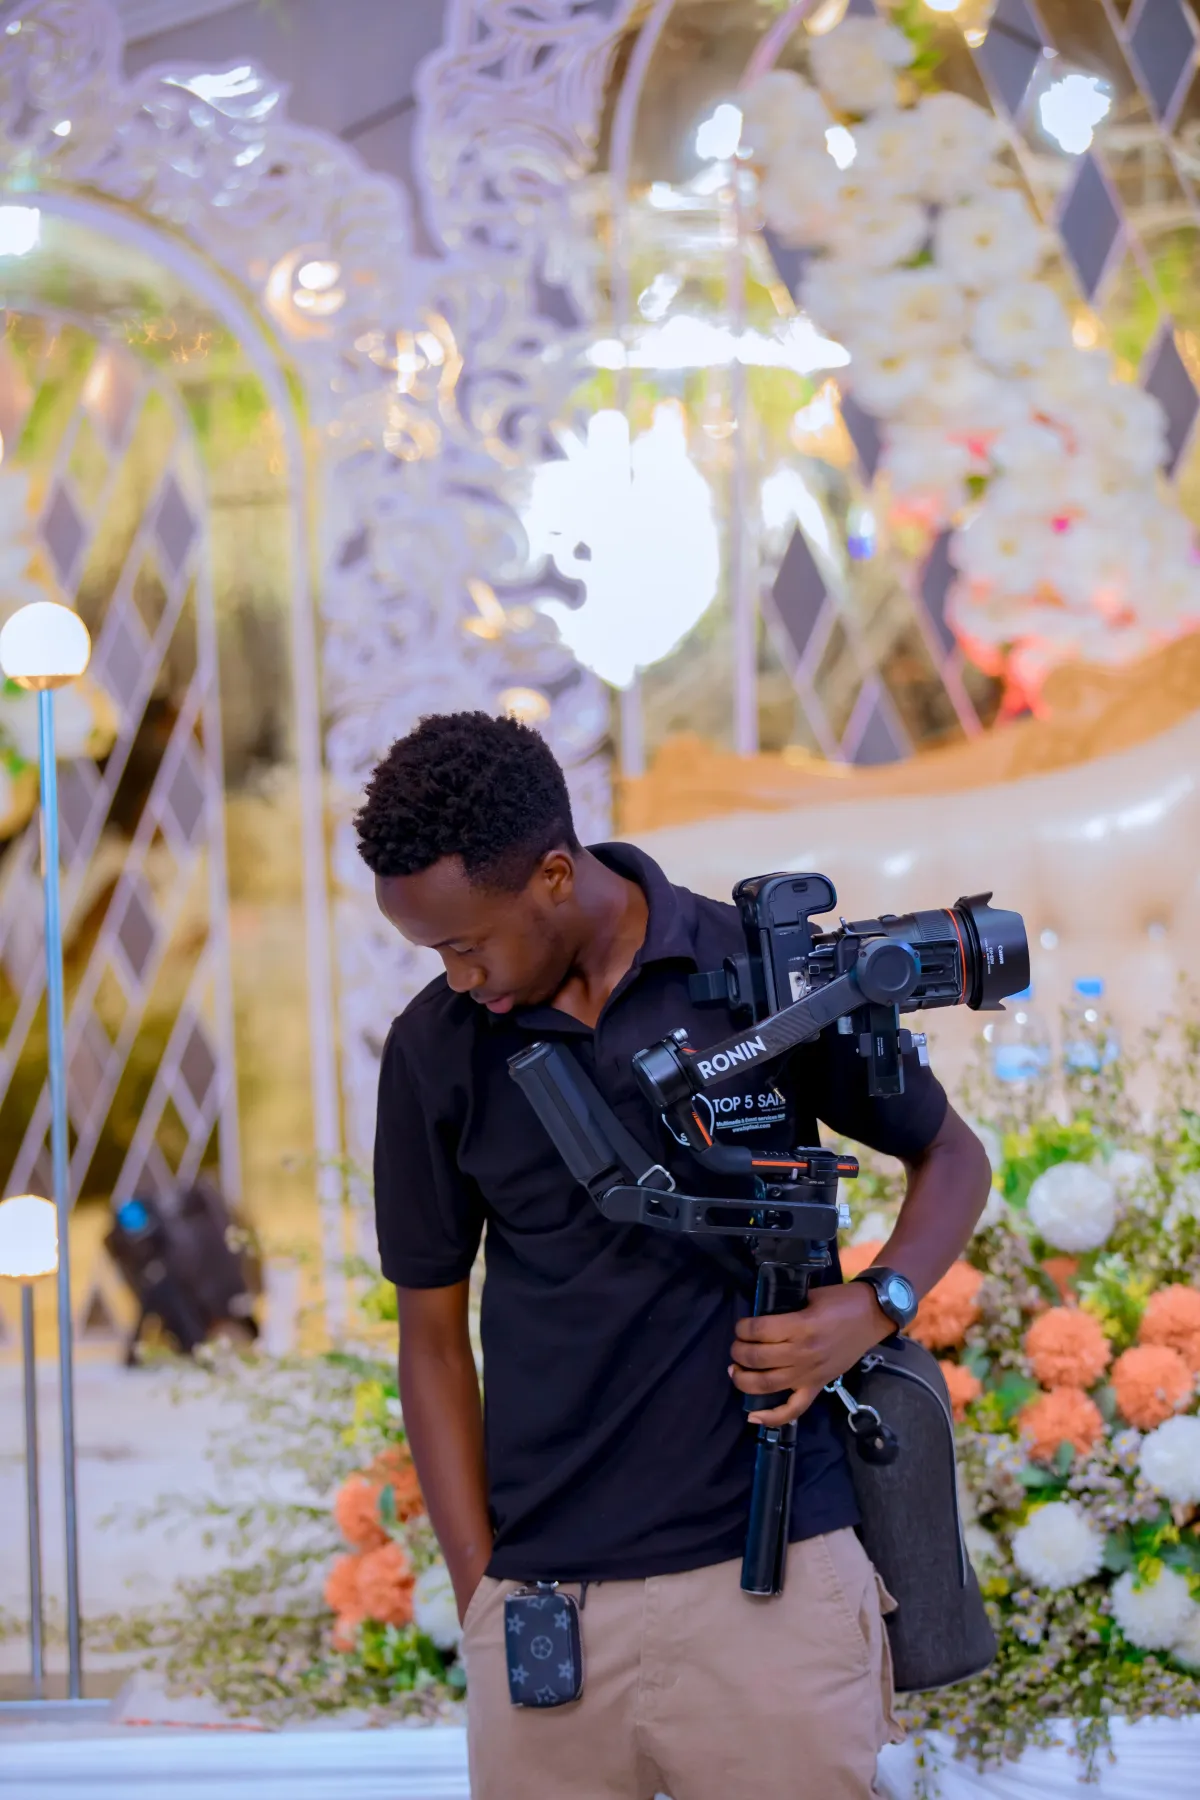
How to Design a Photo-Worthy Event Setup
How to Design a Photo-Worthy Event Setup
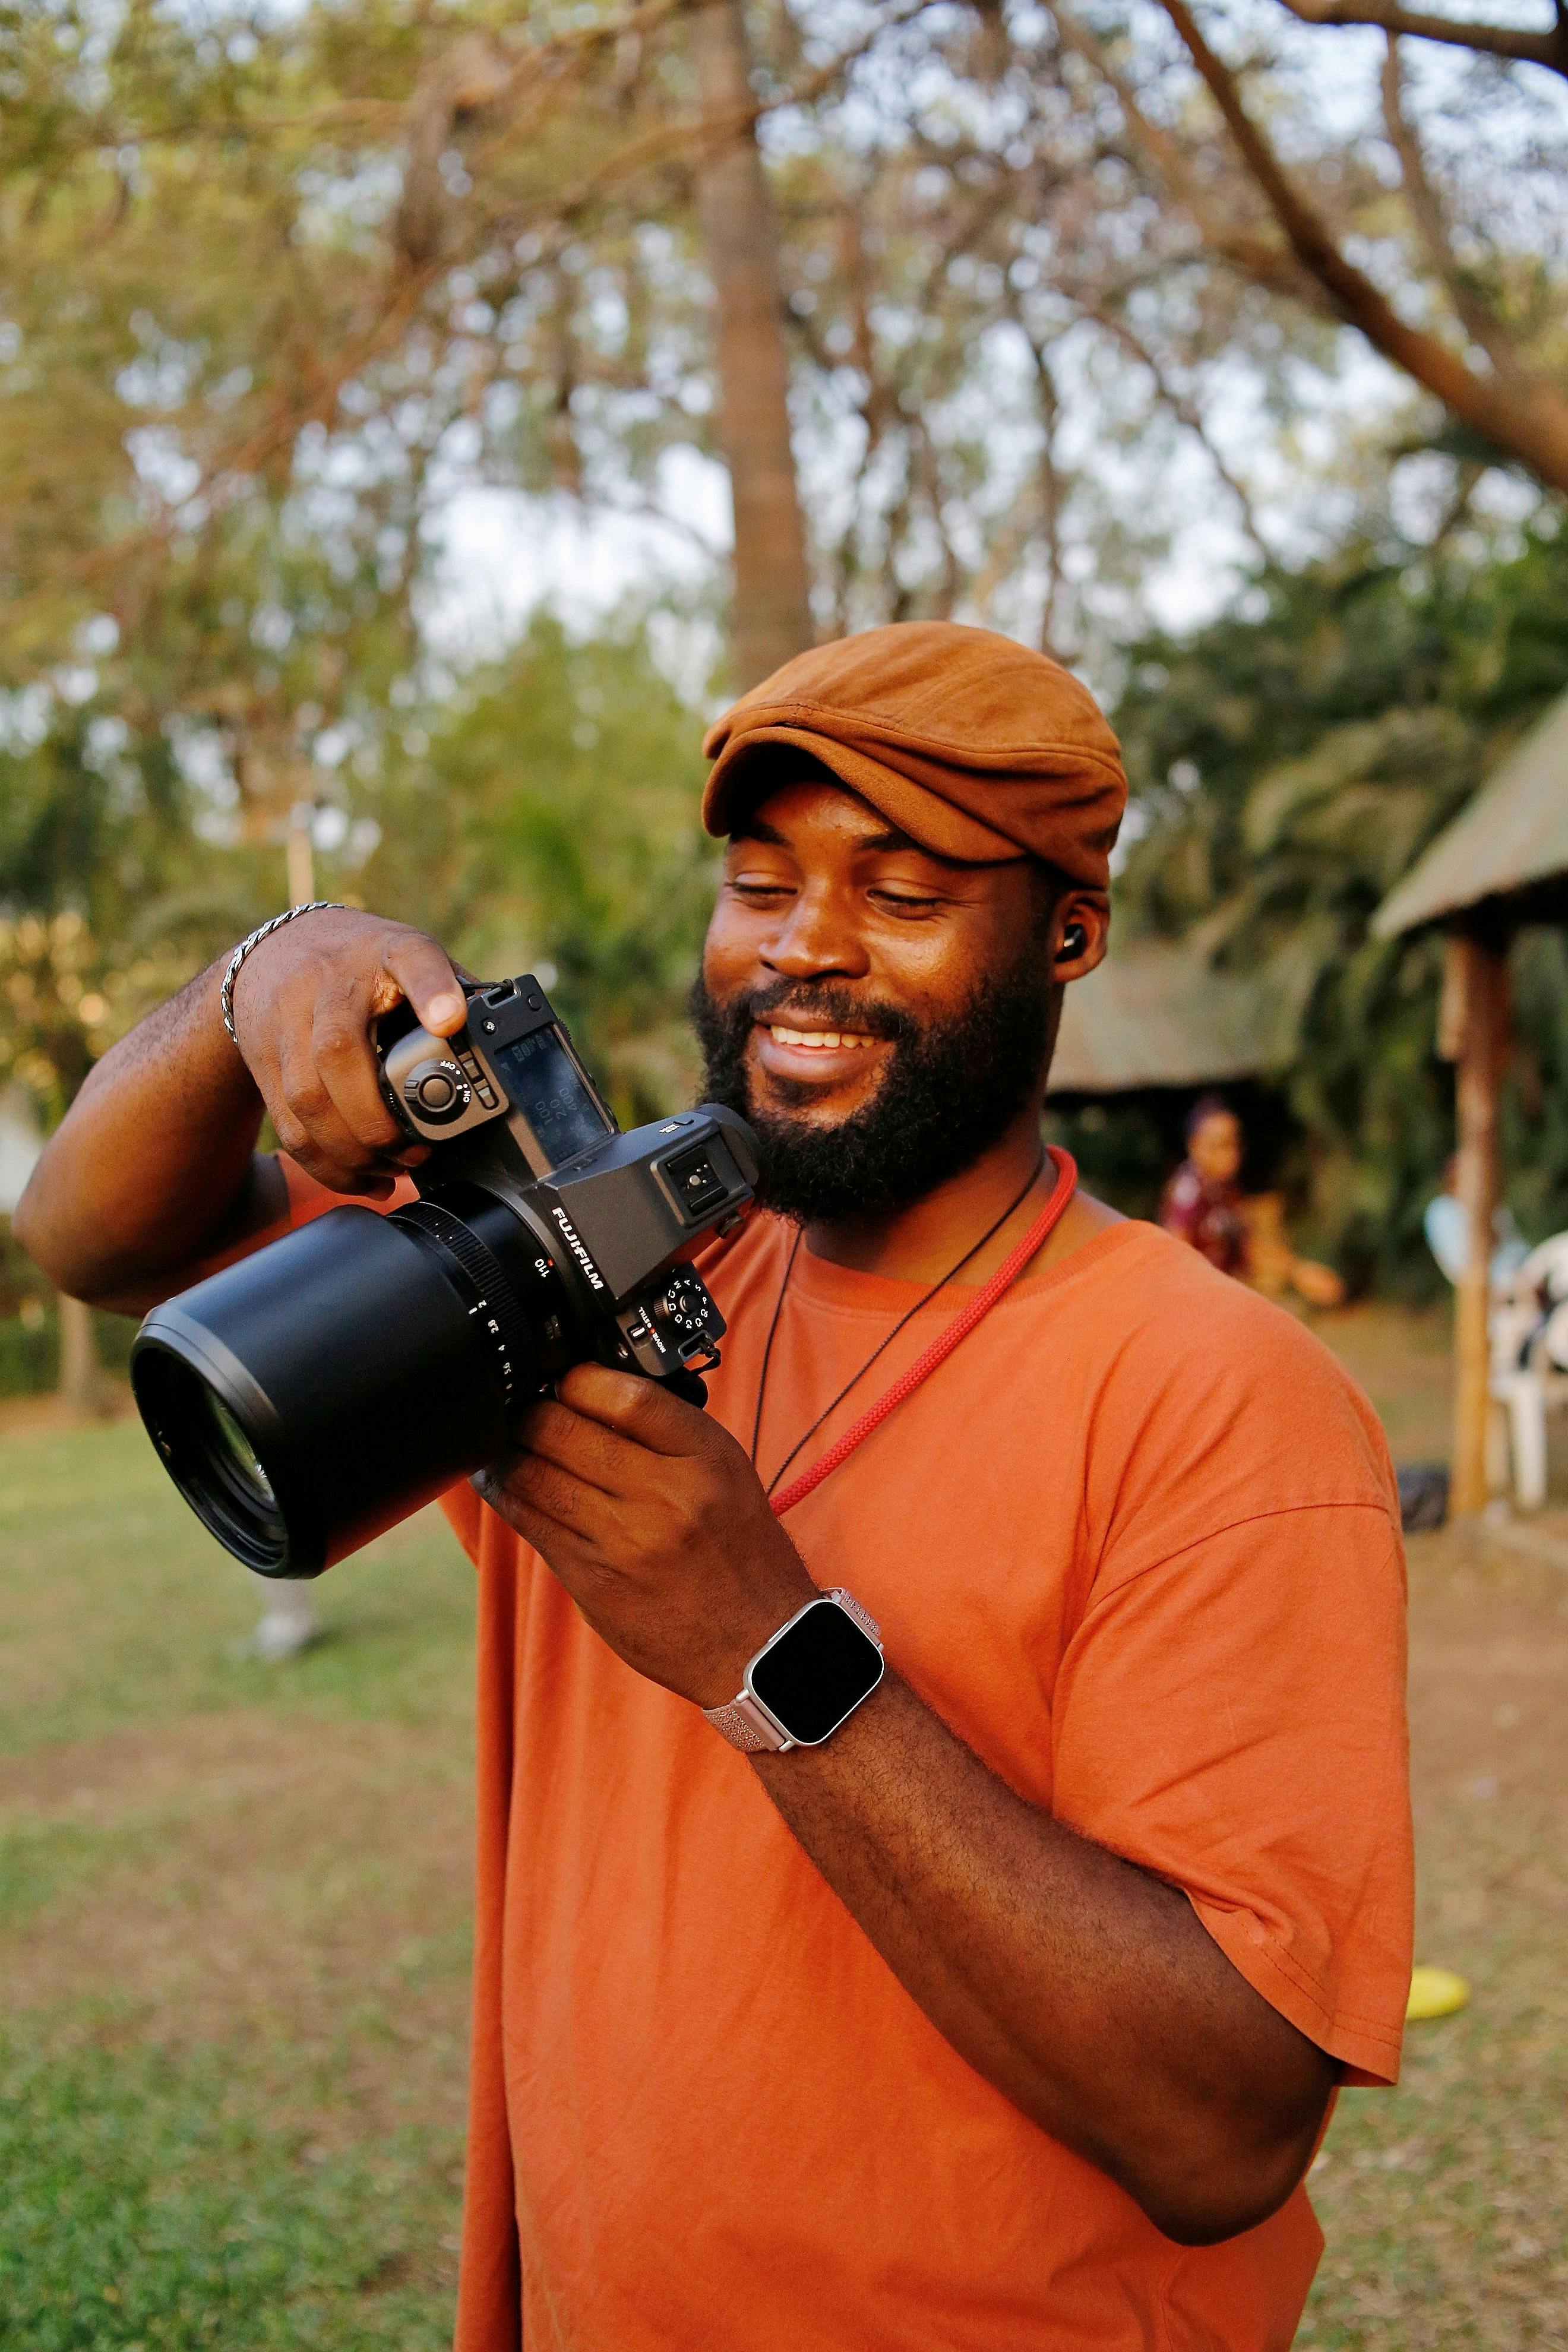
In today’s world, events are no longer just about the experience in the room—they’re about the story told afterward through photos and videos. Guests love to share their favorite moments online, and hosts want their celebrations to be remembered long after the final song. That’s why designing a photo-worthy event setup is one of the most valuable skills an event planner, venue, or host can master.
Creating an Instagrammable, camera-ready event doesn’t just happen by chance. It requires thoughtful planning, an eye for detail, and a balance between beauty and functionality. Whether you’re planning a wedding, corporate gala, birthday bash, or community event, this guide will walk you through how to design a setup that looks stunning in person and translates beautifully through the lens.
1. Understand the Power of Visual Storytelling
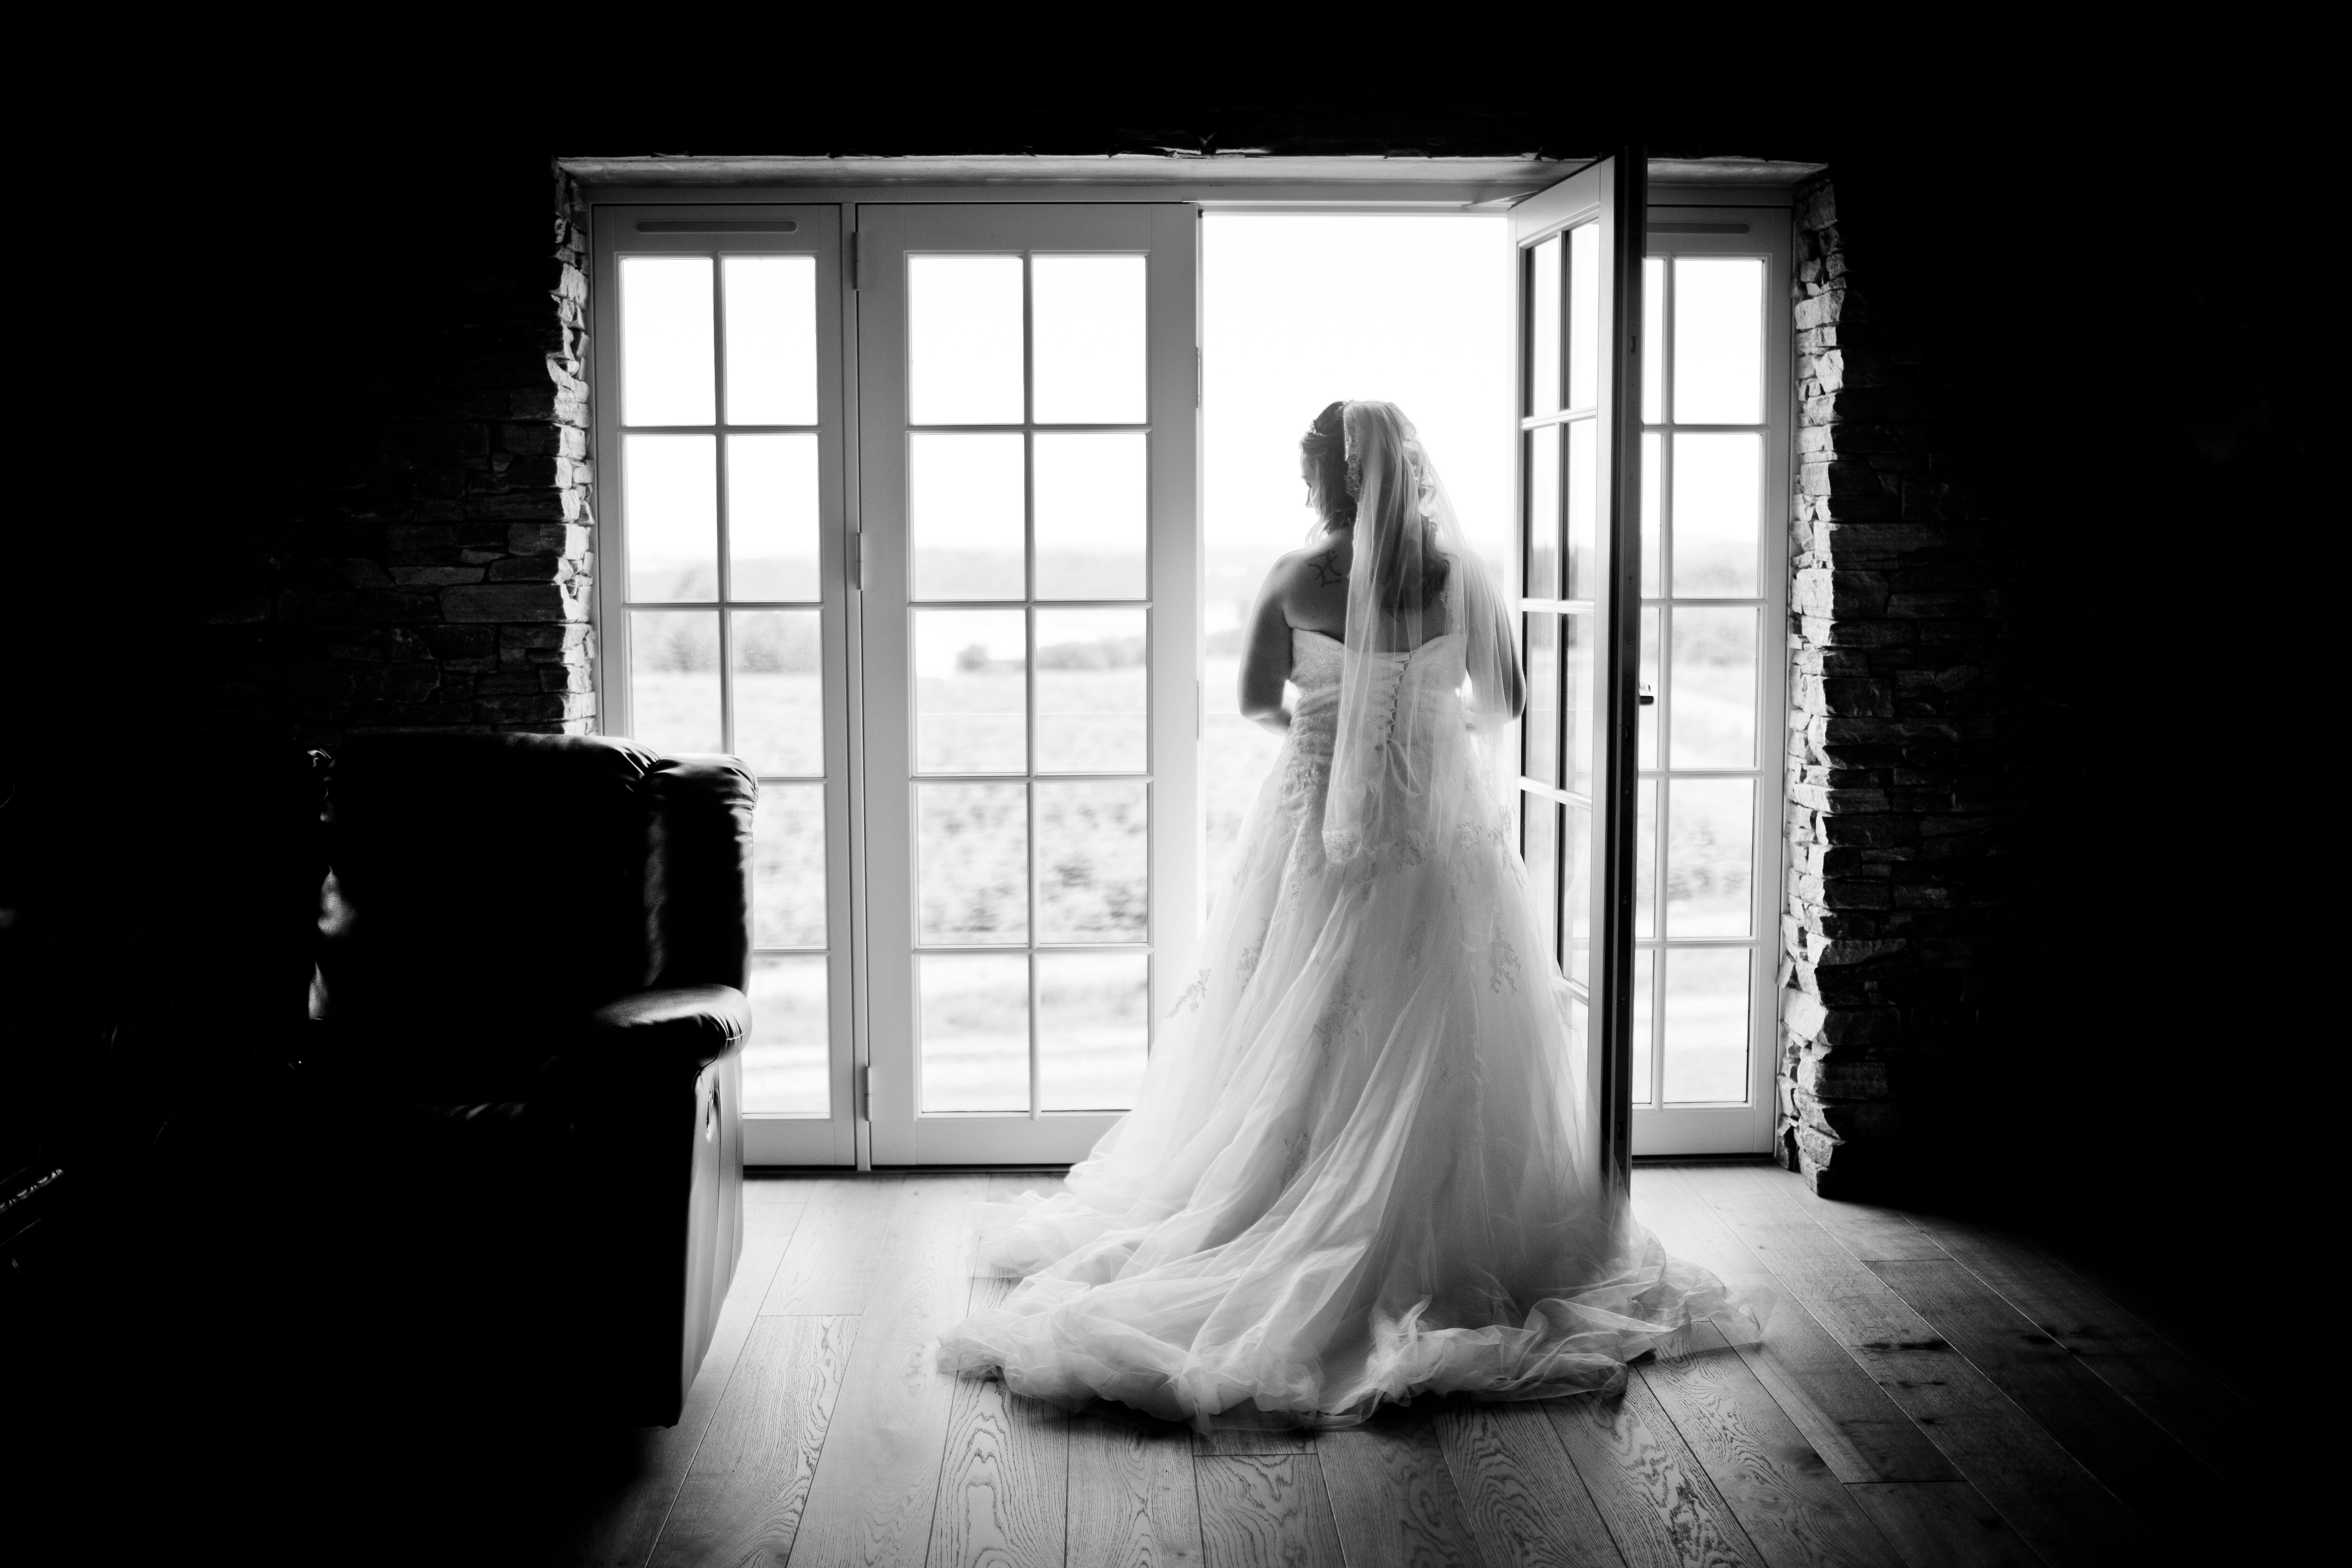
Every event tells a story. A photo-worthy setup captures the theme, mood, and energy of that story in a single frame.
Ask yourself:
What is the main feeling I want people to remember from this event? (Romantic, elegant, playful, modern, cozy?)
How can I translate that feeling into colors, textures, and layout?
What elements of the event will guests want to capture and share with others?
For example, a wedding might focus on romance and intimacy, utilizing candlelight and floral arrangements. A corporate product launch could lean on bold branding, sleek signage, and tech-inspired design. By clarifying your story, you’ll set the foundation for a visually cohesive setup.
2. Start with the Venue
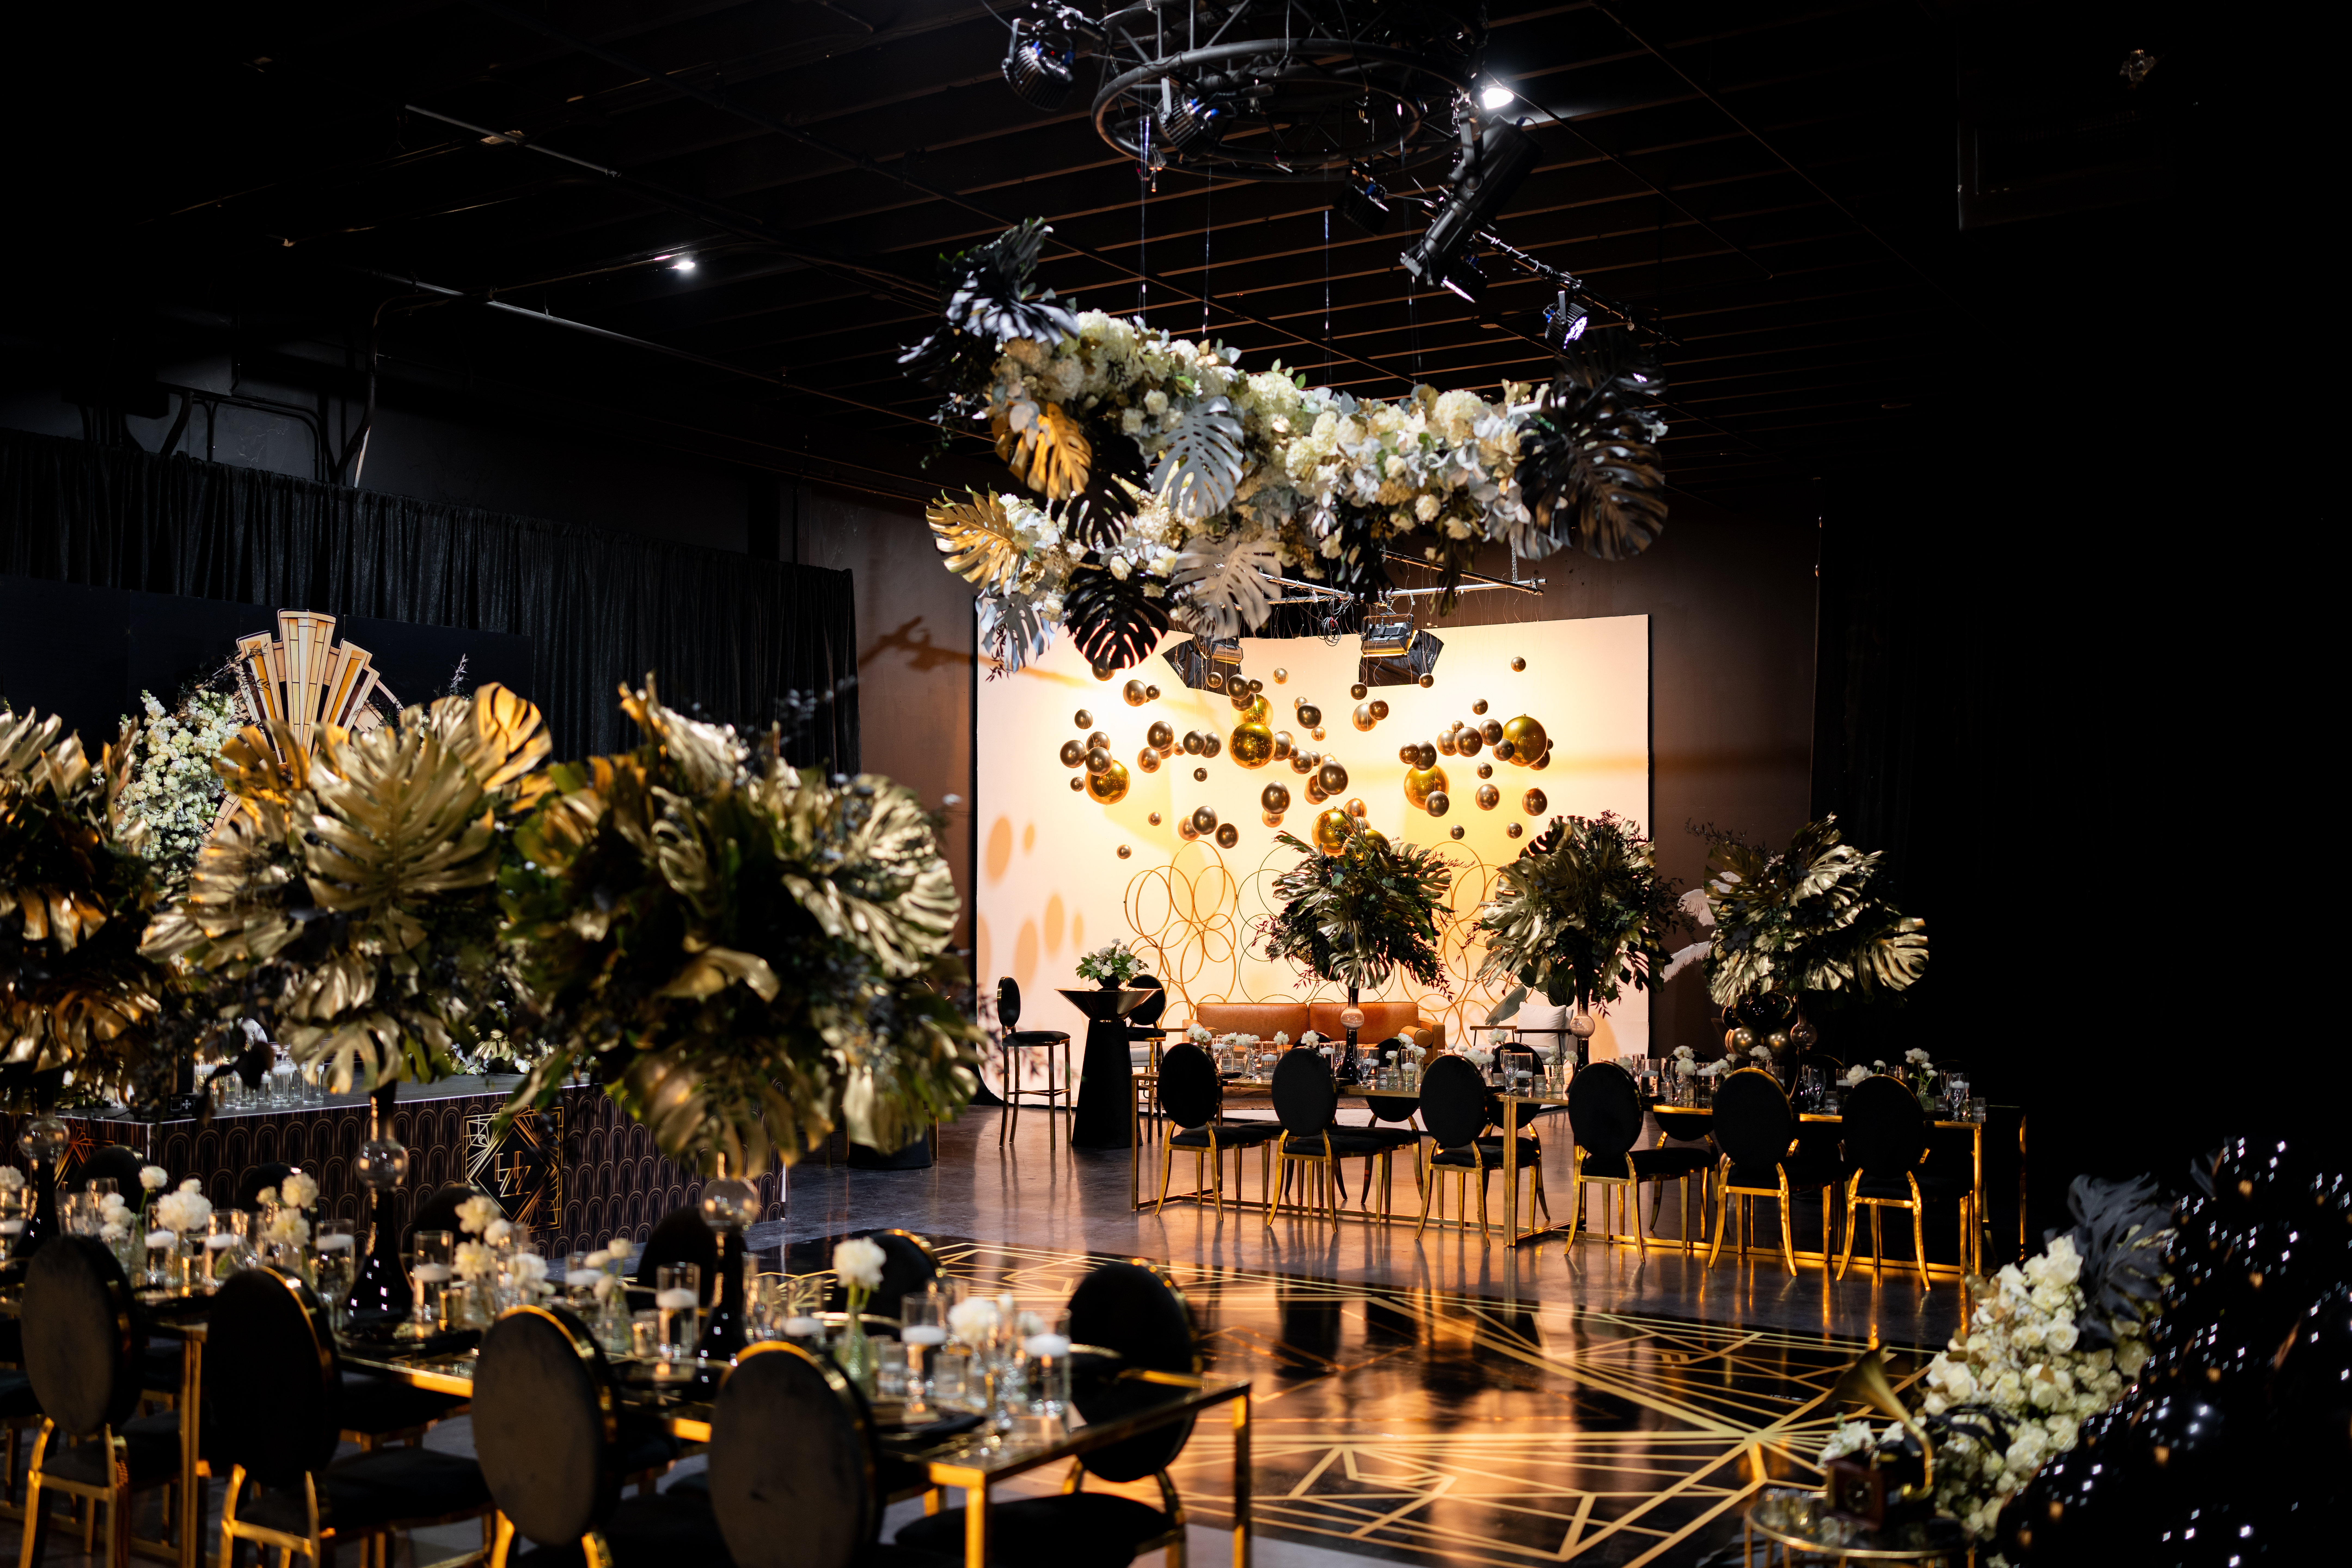
Your venue is the canvas for your design. Before you even think about décor, consider the space itself:
Lighting: Does the venue have natural light, chandeliers, or uplighting options? Good lighting makes or breaks photos.
Architecture: Does the space have standout features—arches, windows, exposed brick—that you can highlight?
Color Palette: What tones are already present (walls, flooring, ceiling)? Will they complement or clash with your theme?
Pro Tip: When touring a venue, take test photos from multiple angles. Look for spots where guests are most likely to snap pictures—entryways, main stage, lounge areas. These will become your focal points.
3. Choose a Cohesive Theme and Color Palette
A photo-worthy event needs consistency. A well-chosen color palette ties everything together—flowers, linens, signage, lighting, and even food presentation.
Tips for Choosing a Palette:
Stick to 3–4 main colors to avoid visual clutter.
Use a mix of neutrals and bolds (e.g., blush, cream, and gold with accents of emerald green).
Consider how colors appear in photos: Some shades (like neon) may overwhelm, while soft tones (like pastels) often photograph beautifully.
Once your palette is set, apply it consistently across every detail—backdrops, menus, table settings, and even guest favors.
4. Prioritize Lighting
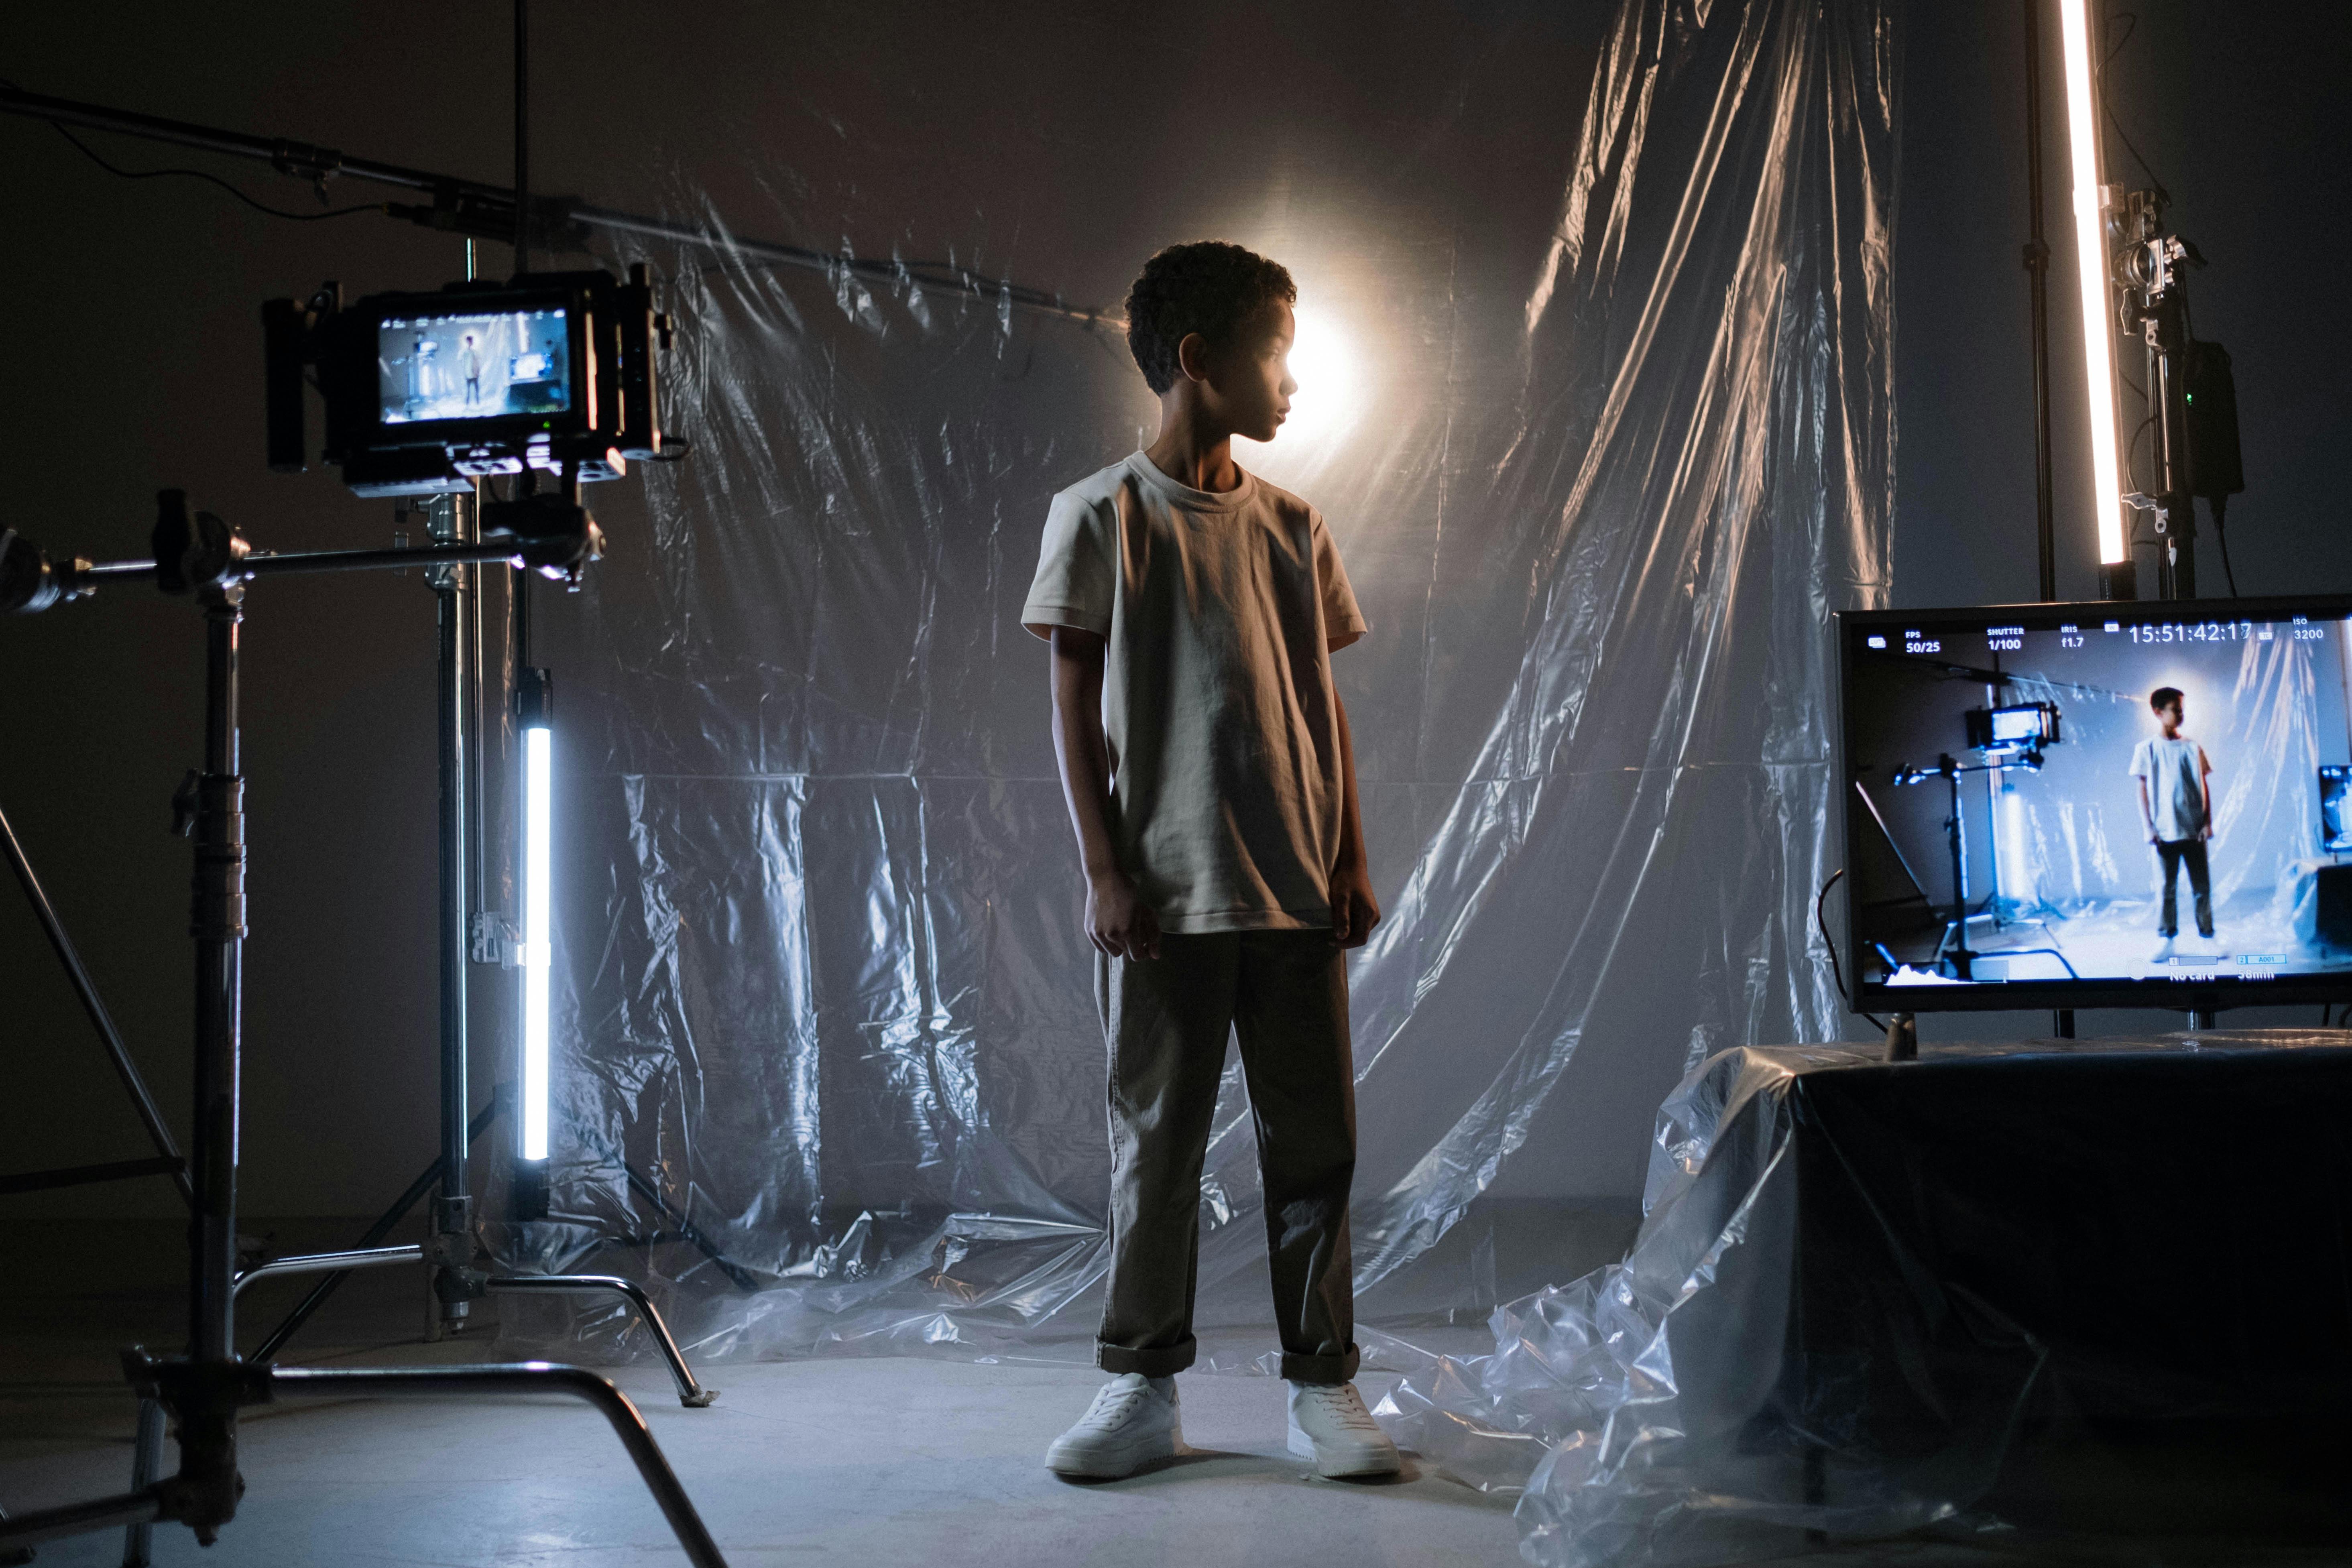
If there’s one factor that determines whether a setup is truly photo-worthy, it’s lighting. Even the most gorgeous decorations fall flat under harsh or dim light.
Event Lighting Essentials:
Natural Light: Use it wherever possible, especially for daytime events. Place key elements (like the cake table or floral arch) near windows.
Layered Lighting: Combine ambient (room lighting), task (spotlights), and accent (candles, fairy lights, LED walls).
Warm vs. Cool: Warm tones (amber, gold) create a cozy, inviting feel. Cool tones (blue, white) feel sleek and modern.
Dynamic Options: Uplighting and color washes can transform a plain space into a vibrant photo backdrop.
Pro Tip: Ask your photographer what lighting setups work best for their equipment. A small adjustment in bulb type or placement can make photos magazine-worthy.
5. Create Statement Pieces
Every event needs “wow” moments—installations or features that guests are drawn to and can’t resist photographing.
Examples of Statement Pieces:
Floral or Balloon Installations at entryways
Customized Neon Signs with the couple’s names, brand logos, or fun phrases
Photo Walls/Backdrops designed with greenery, textures, or LED lights
Suspended Décor like chandeliers, lanterns, or hanging florals
Dessert Tables or Grazing Boards styled like art displays
You don’t need dozens of statement pieces—just one or two impactful ones strategically placed can carry the entire event.
6. Think in Layers
Flat designs rarely photograph well. Instead, aim for depth and dimension.
Ways to Add Layers:
Use table centerpieces of varying heights.
Combine textures (silk linens with rustic wood accents).
Incorporate ceiling décor that draws the eye upward.
Add rugs, lounge furniture, or draping to frame spaces.
These layers create a more dynamic, three-dimensional look in photos.
7. Style the Tables Like a Designer
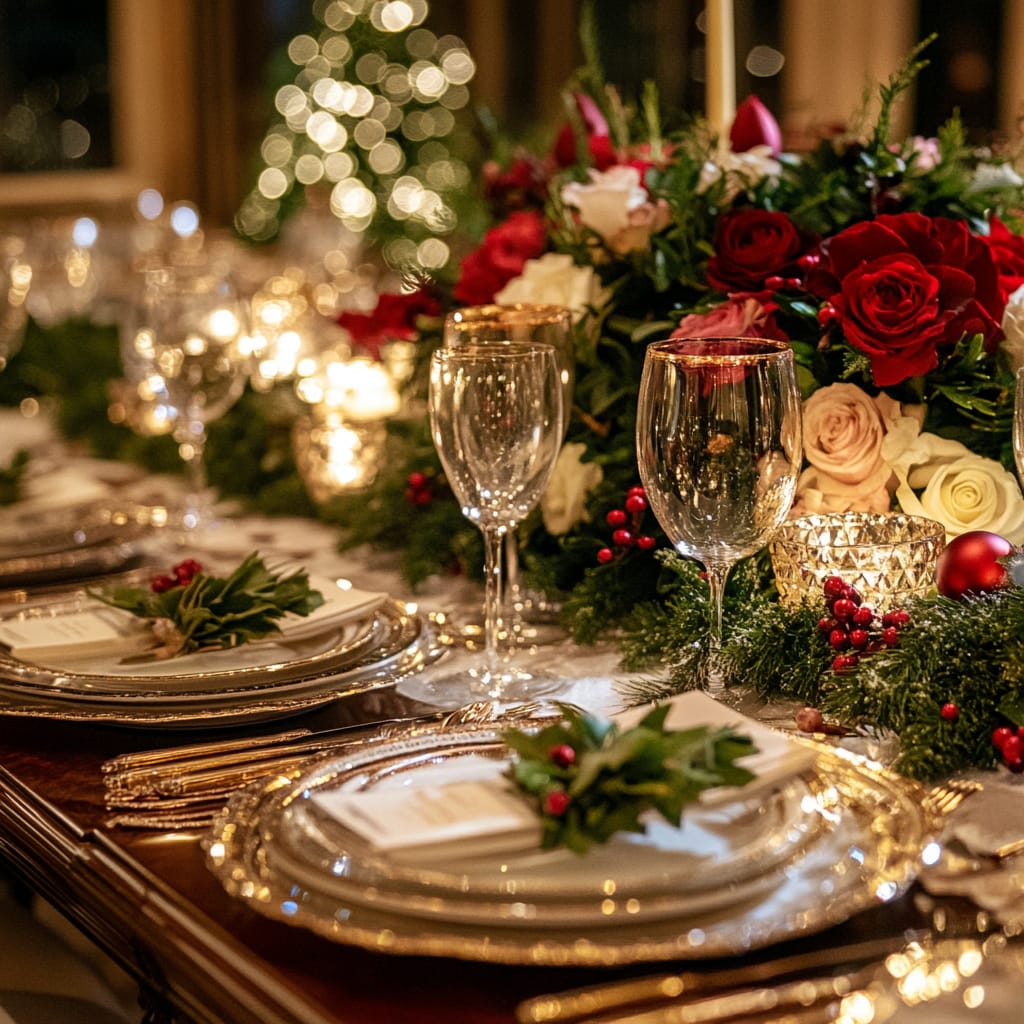
Guests spend a lot of time at their tables, so these setups should be both functional and photogenic.
Key Elements of a Photo-Worthy Table:
Linens: Choose colors and fabrics that match your palette. Textured or layered linens add depth.
Centerpieces: Keep them tall and elegant or low and lush, but ensure guests can still see each other across the table.
Tableware: Consider modern chargers, gold flatware, or colored glassware for extra flair.
Details: Menus, place cards, or small favors styled neatly add personality and polish.
Pro Tip: Before the event, take a test photo of a fully set table. Make adjustments until it looks picture-perfect.
8. Don’t Forget Signage
Event signage isn’t just functional—it’s a design opportunity. A welcome sign, bar menu, seating chart, or directional sign can double as décor and photo ops.
Trendy options include:
Acrylic boards with calligraphy
Chalkboard signs for rustic events
LED digital displays for modern parties
Wooden boards engraved with names or quotes
Signage ensures your event feels polished while offering more chances for photo-worthy moments.
9. Build Guest-Friendly Photo Opportunities
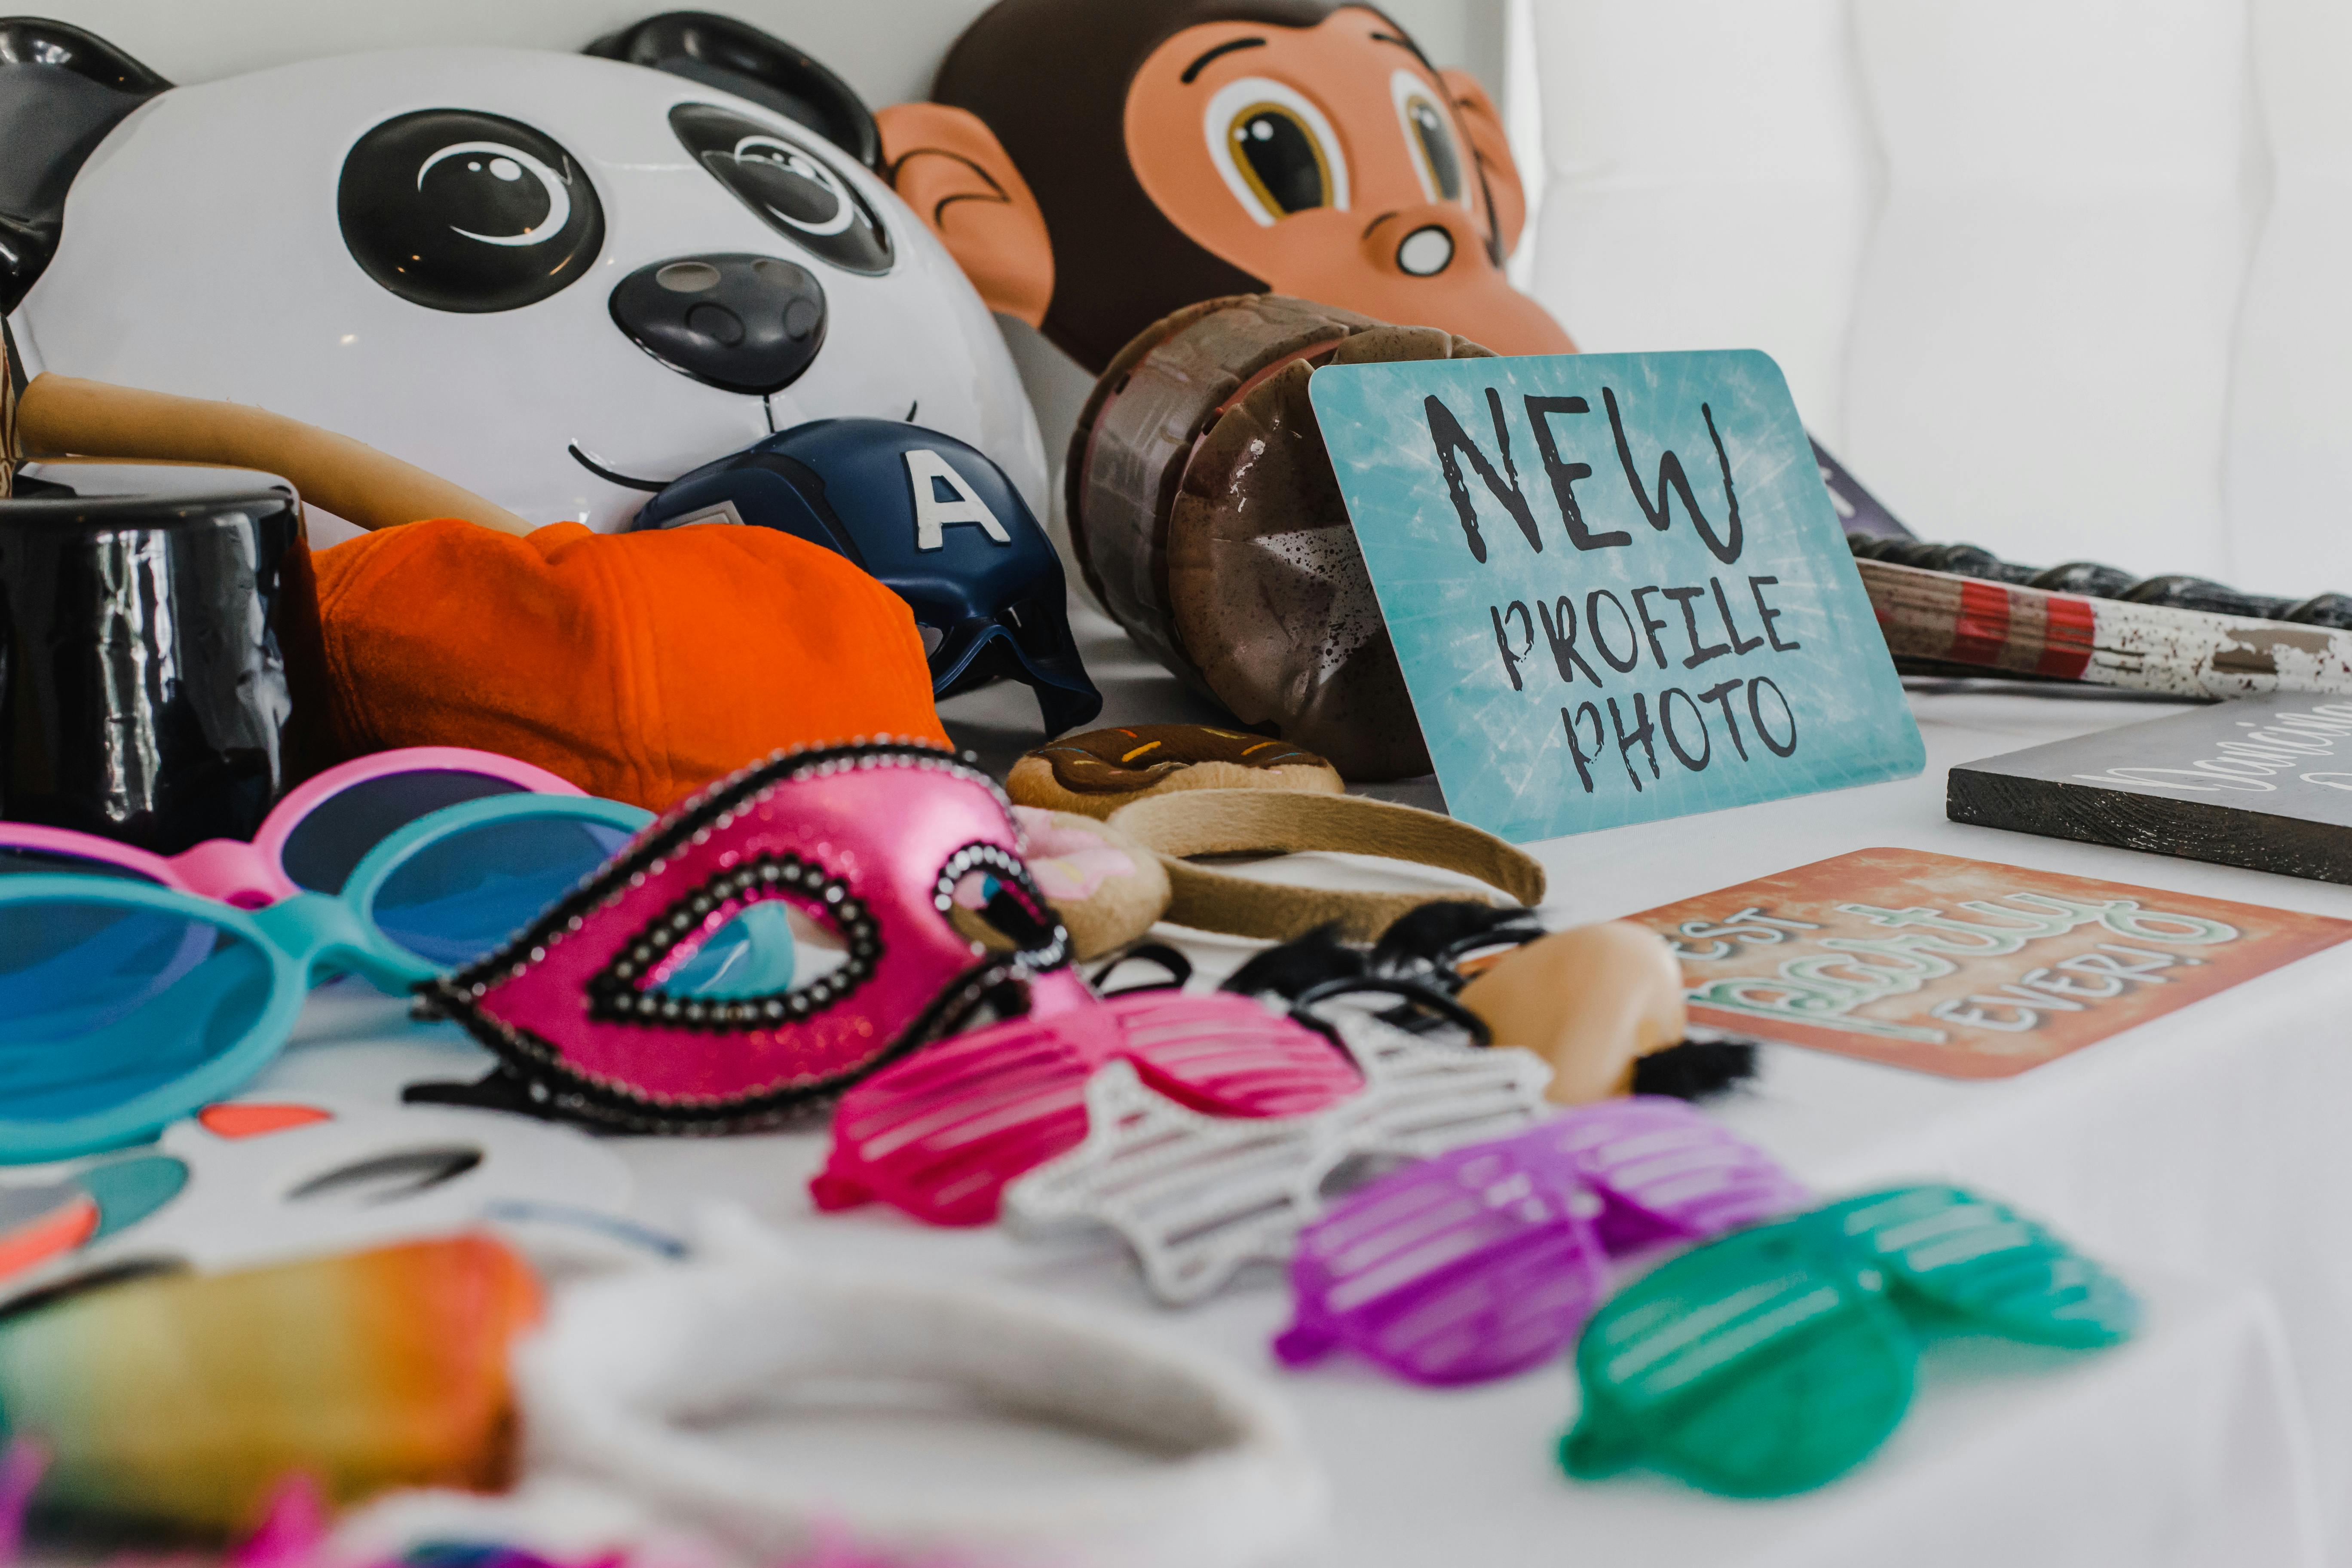
Guests love to document their experiences. Give them designated spots to do so:
Photo Booths with fun props and instant prints
Step-and-Repeat Walls with custom branding or logos
Interactive Installations like swing sets, floral tunnels, or oversized props
Candid Corners like cozy lounges or scenic balcony views
These setups not only encourage sharing on social media but also reinforce your event’s branding or theme.
10. Focus on the Details
Often, it’s the smallest touches that make an event stand out in photos.
Ideas for Detail Shots:
Personalized napkin rings or coasters
Signature cocktails with custom stirrers
Monogrammed desserts or cake toppers
Candle clusters in varying holders
Guest name tags styled creatively
These details make photos feel intentional and tell a story of thoughtfulness.
11. Balance Beauty with Function
While designing for photos is important, never sacrifice guest comfort or functionality. A table might look stunning, but if it’s overcrowded with décor, guests will struggle to eat.
Ask yourself:
Can guests move easily through the space?
Are chairs comfortable for long dinners?
Is there enough lighting to safely navigate?
Can décor withstand wind (outdoor) or heat (candles)?
The most successful setups blend aesthetic appeal with practicality.
12. Collaborate with Your Photographer
Photographers are your best allies in creating photo-worthy setups. Share your vision with them in advance and ask for input. They can guide you on:
Best lighting conditions
Angles that highlight décor
Placement of statement pieces
Timing (golden hour shots, sparkler exits, etc.)
This collaboration ensures your setup is captured in its best light—literally and figuratively.
13. Keep Social Media in Mind
If you want your event to live on beyond the day itself, design with shareability in mind.
Create a unique event hashtag for guests to use.
Ensure logos or couple names appear subtly in photos.
Design photo ops that align with Instagram and TikTok trends.
Encourage guests to tag the planner, venue, or vendors for exposure.
By making your event “social-ready,” you turn your guests into promoters.
14. Case Study Examples
Example 1: The Romantic Wedding
A couple wanted a romantic yet modern wedding. Their planner used blush and cream tones with gold accents, layered candles along the aisle, and installed a floral arch as the ceremony backdrop. The arch became the most photographed spot of the night, appearing in hundreds of guest photos.
Example 2: The Corporate Launch
A tech company launched a new product. Instead of standard signage, they created a futuristic LED tunnel that guests walked through at the entry. This installation doubled as a photo wall, reinforcing the brand’s innovative image and gaining thousands of social shares.
Example 3: The Birthday Bash
For a 30th birthday, the planner built a balloon wall with a neon sign reading “Thirty, Flirty & Thriving.” It became the focal point of the night and appeared in almost every guest’s Instagram post.

15. Final Checklist for a Photo-Worthy Setup
Cohesive theme + color palette
Thoughtful lighting plan
One or two statement pieces
Layered design for depth
Styled tables and signage
Designated photo opportunities
Attention to small details
Comfortable and functional layout
Collaboration with a photographer
Social media integration
Conclusion
Designing a photo-worthy event setup is part art, part strategy. It’s about creating spaces that feel magical in the moment while ensuring they translate beautifully on camera. From lighting and color palettes to statement pieces and small details, every choice adds up to a celebration guests will remember—and share.
When your setup is designed with intention, you don’t just host an event. You create a visual legacy.
✨ Need help bringing your vision to life? At Cora’s Custom Creations, we specialize in designing events that are as unforgettable in person as they are on camera. From weddings and milestone celebrations to corporate gatherings, our team ensures every detail is styled to perfection—so your event isn’t just celebrated, it’s remembered.
📞 Contact us today to start planning your picture-perfect event!
